
Here are the steps to add an image to a Tableau Project on a Tableau Server.
- As a Server or Site Administrator, bring up the Tableau site in a browser (preferably using Google Chrome).
- Click on a Tableau project (in the example below, I clicked on Information Technology).
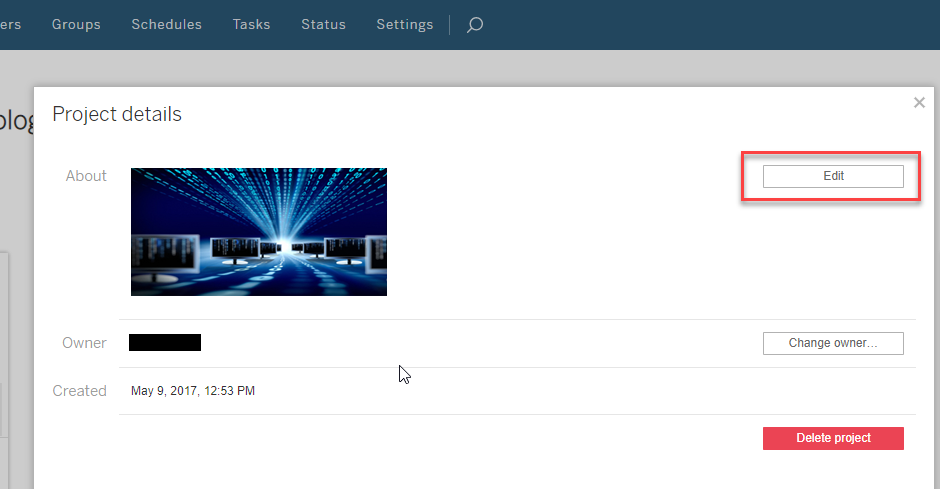
- In the Tableau Project, Click on the Details icon (re: lower case ‘I’ in a circle). See screenshot below.

- In the Tableau Project Details, click on the Edit button. We want to add the HTML code to include the image. See screenshot below.
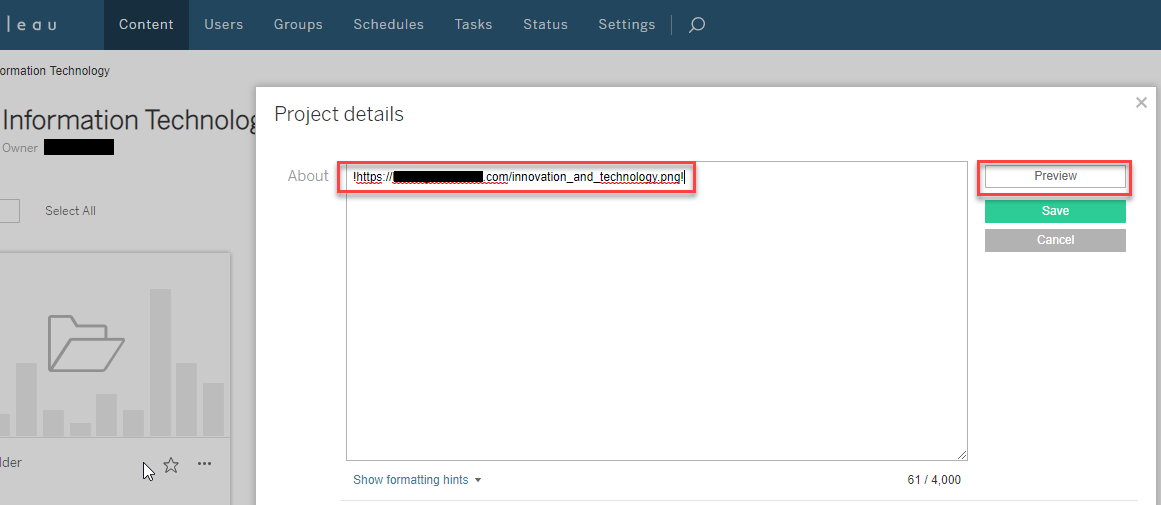
- In the Tableau Project Details About text box, enter the following code:
!<Server URL>/<Image Name>!

Note: I recommend you do not have any spaces in the image name. In the example in the screenshot below, I use underscores instead of spaces. Also, I prefer to use .PNG files, but also used a few .JPG files. I cannot guarantee any of the other file types (e.g., .GIF) will work.
The images must be put in the htdocs folder. Here is the absolute path to the htdocs folder and a screenshot of some images I used.
C:\ProgramData\Tableau\Tableau Server\data\tabsvc\httpd\htdocs

- After you enter the HTML code, you can press the Preview button to see how the folder will look to the business users in the browser.

And that’s it!
